Feeds:
Posts
Comments

Archive for the ‘Sewing Tutorials’ Category

Moses Baskets

Here is where I got the clever idea and instructions to make the rope baskets.

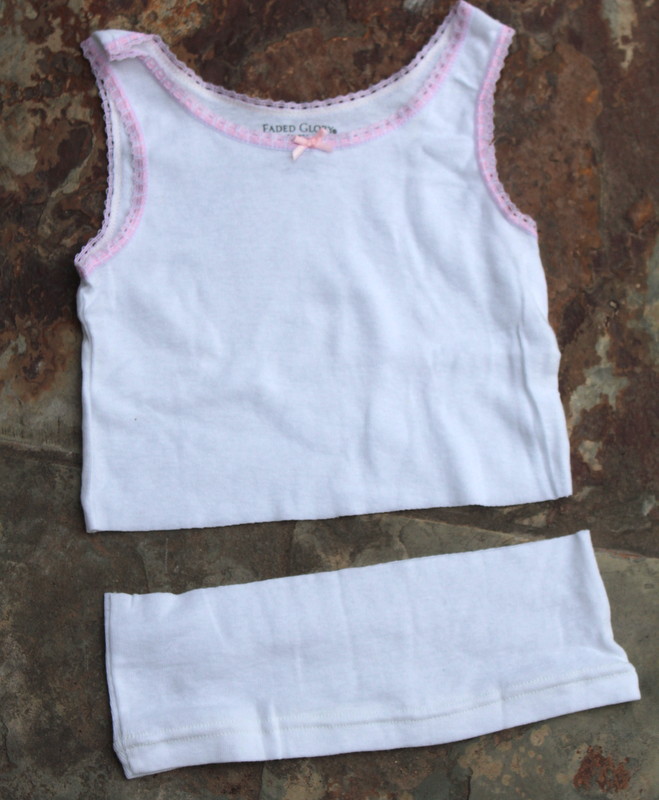
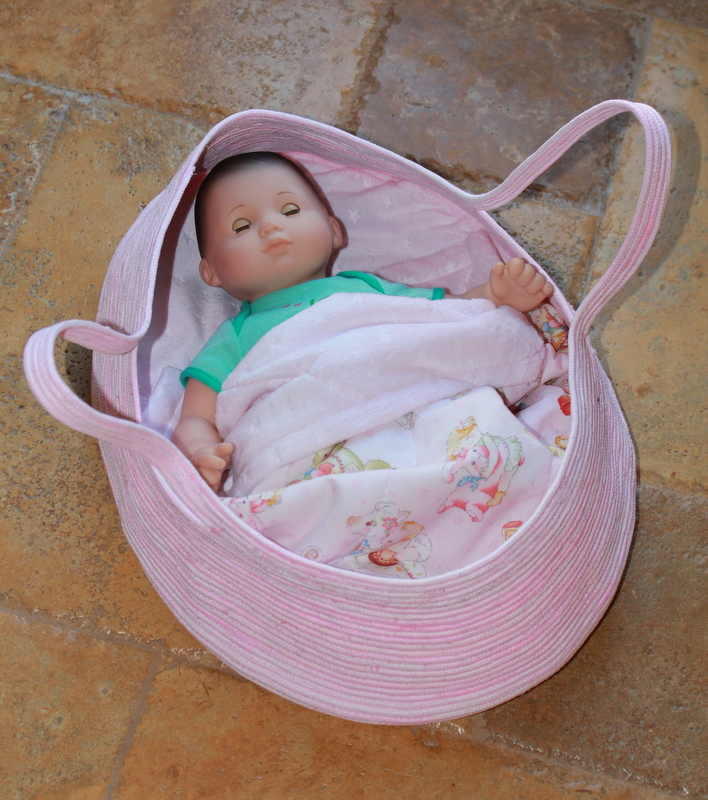
I took her idea and decided to make Moses’ baskets for my granddaughter’s Bitty Baby, it would also work for any 16″ baby doll.

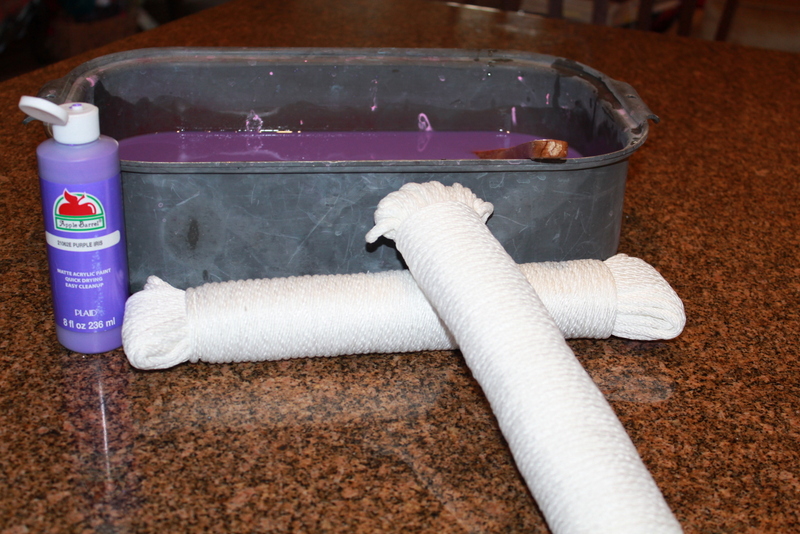
You will need to purchase cloths line rope, I got mine at Walmart. The Moses basket takes around 400 feet. The cloth line rope comes in 25 or 50 feet lengths. You will also need 2-3 spools of thread to match your paint color. It takes a lot and the bigger your zigzag stitch is the more thread you will need.

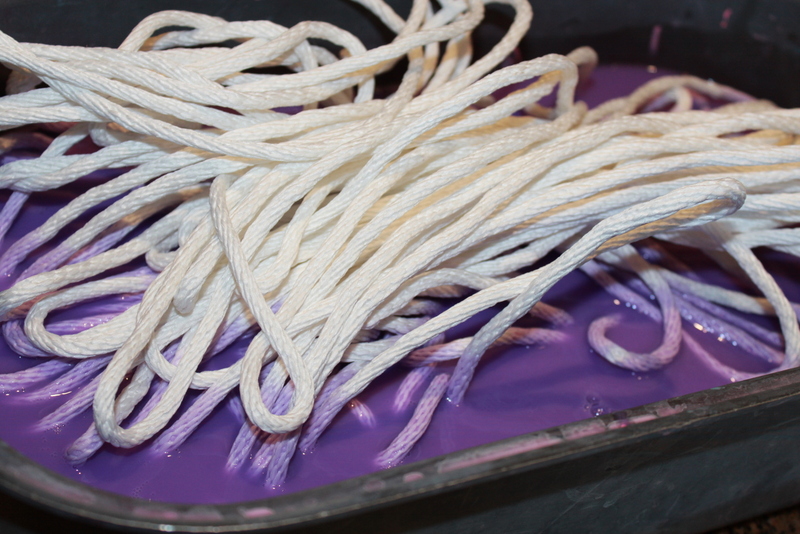
I have experimented with different ways to paint the basket and I found that this is the best way for me. I dilute paint in water and stir it in, then I just soak my rope in the paint. I turn it over a couple of times to make sure it’s all coated. You can work with your paint until you are happy with how it turns out.  I used Apple Barrel paint purchased at Walmart.

IMG_1838

IMG_1837IMG_1836IMG_1832IMG_1840IMG_1842IMG_1843

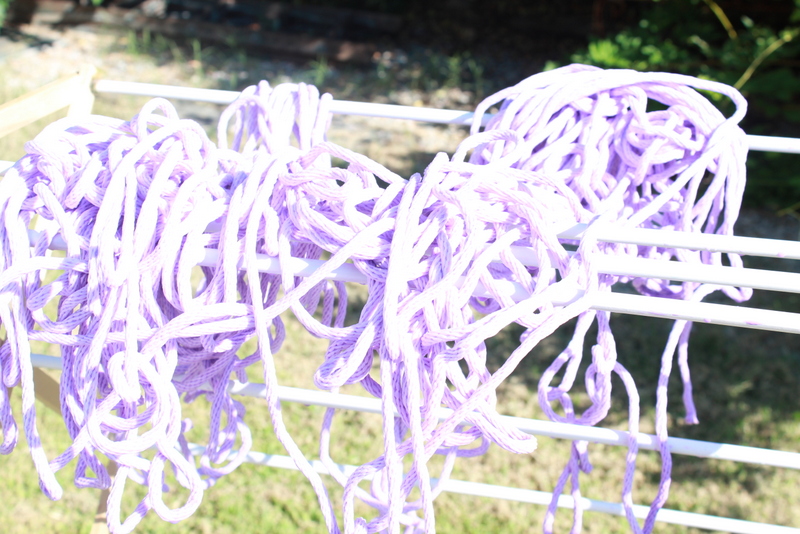
I dry it outside on my cloths line.

IMG_1847

Once it’s dry you can start making your basket.

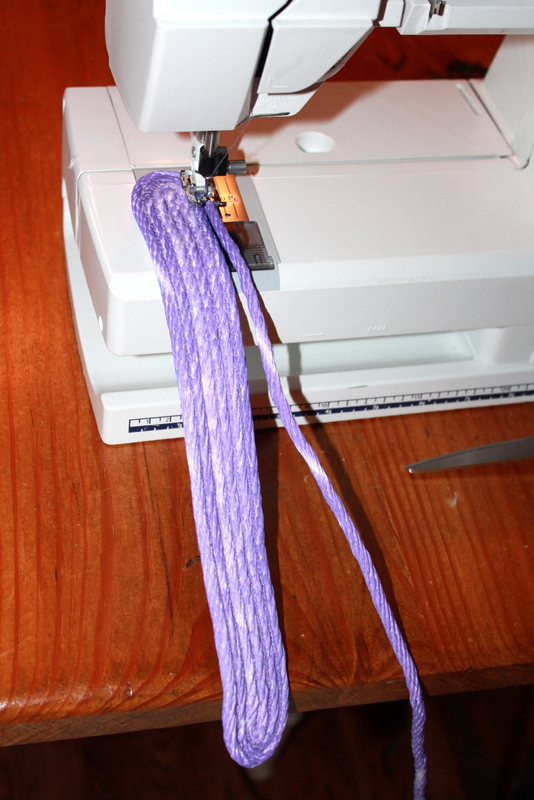
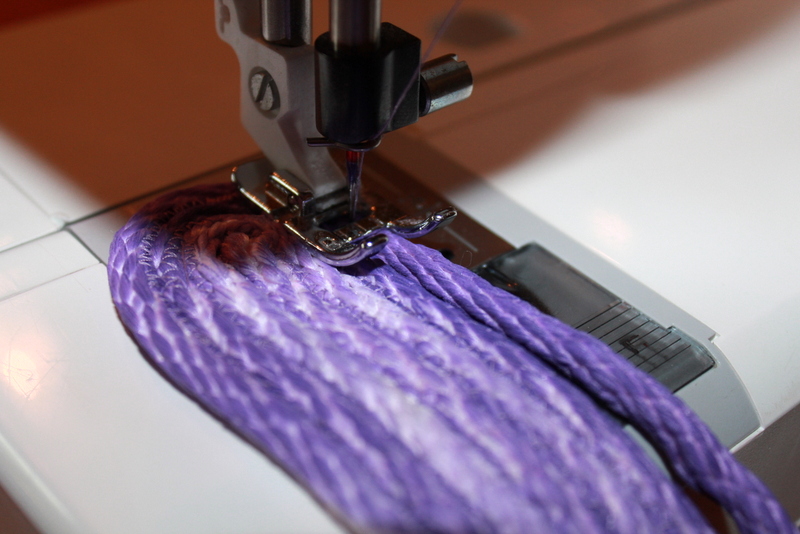
The Moses basket needs to be oblong, so I start with a 8-10 inch length of rope and sew two pieces together using a zigzag stitch, making sure to catch both pieces of rope with the thread.

You will need to position your rope so that as you sew the bulk of your basket is on the outside of your machine.

IMG_1855

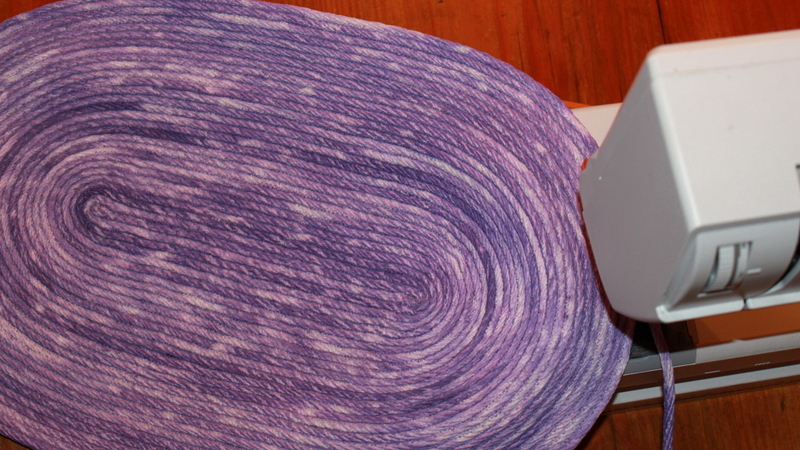
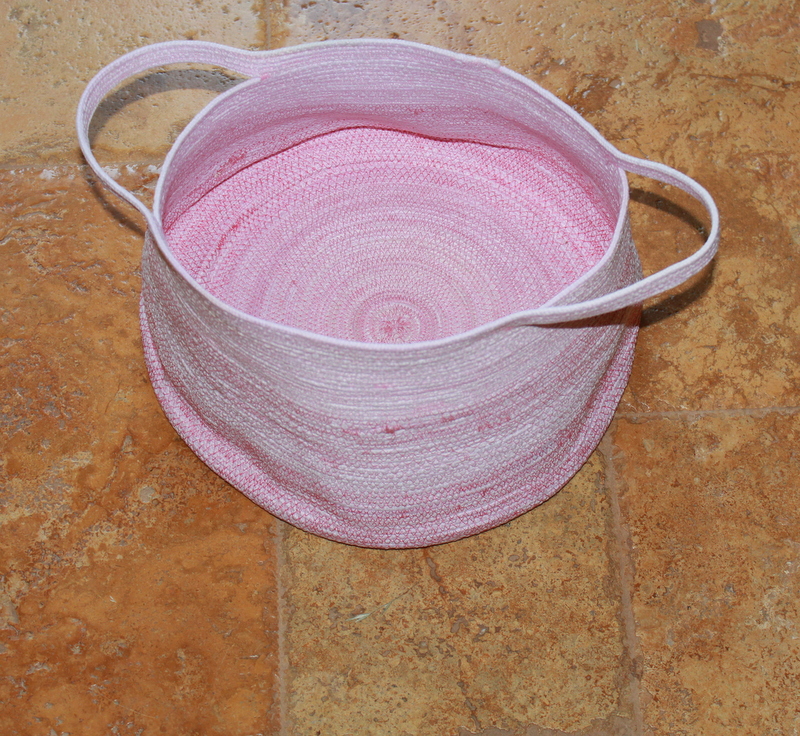
Continue sewing your rope around and around until you get your desired length. My bottom is 18-19 inches long.

IMG_1856IMG_1878IMG_1875

Once you get your desired length you will turn your rope on it’s side and continue sewing. This will change the direction of your stitch and create the sides of your basket.

IMG_1800IMG_1799

Continue until you have the desired depth of your basket, then you will make the handles.

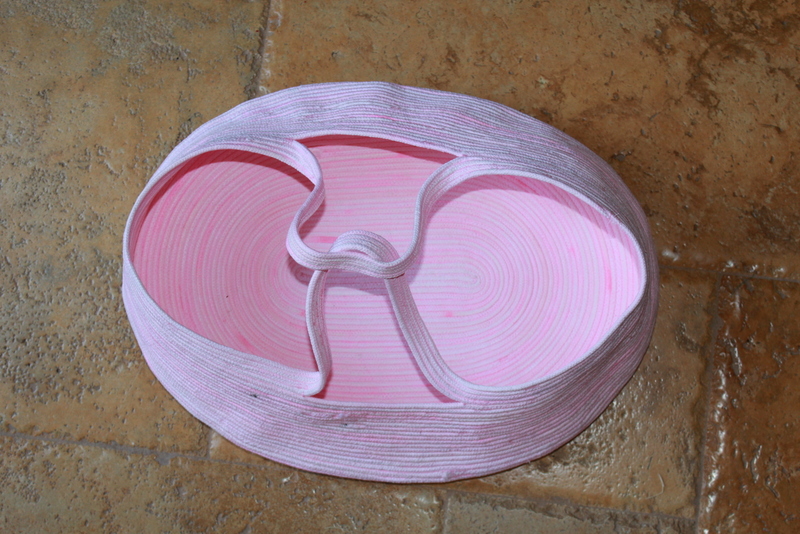
I measure and mark my four centers, then from my side centers I measure out about 2 1/2 inches on either side and mark it. I sew up to the first mark and secure the stitches really good, then I stop sewing and cut my thread. I measure a 10-12 inch length of rope and start sewing at the end of that length, starting at the next marked spot-making sure there is a 5 1/2 inch space between the two. Continue sewing around the basket until you get directly on the other side of your 5 1/2 inch space-this should also be marked-and repeat the same thing you did on the other side. I made three more rounds to make the handle of the basket. At the long end of the basket I cut the rope and folded it down and worked it into the basket. Back stitch several times to secure it down.

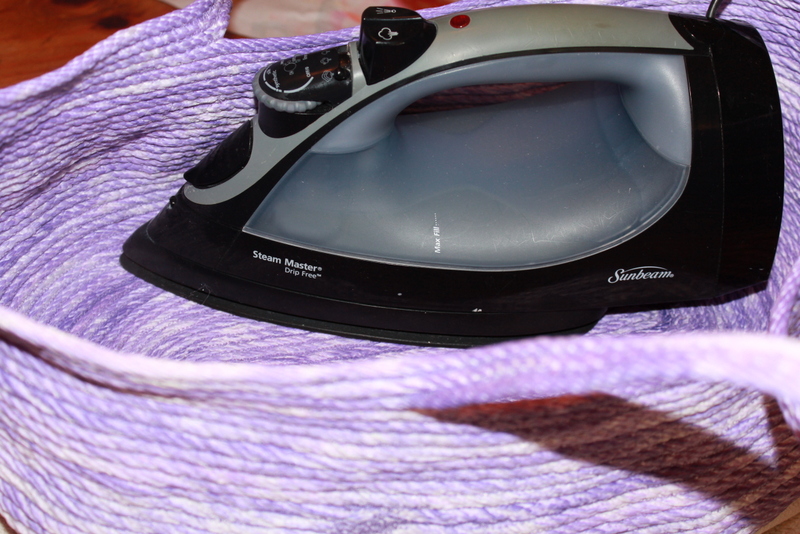
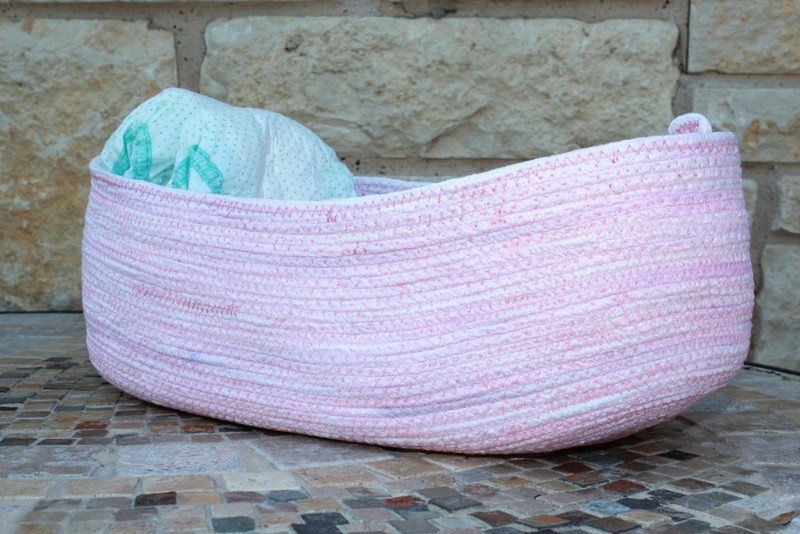
The bottom of my basket was a little wavy so I steamed it and ironed it until it was flat.

IMG_1892

You are now done with your Moses basket.

IMG_1812IMG_1818

You are now ready to make a pad and blanket for your basket.

IMG_1907IMG_1909IMG_1914

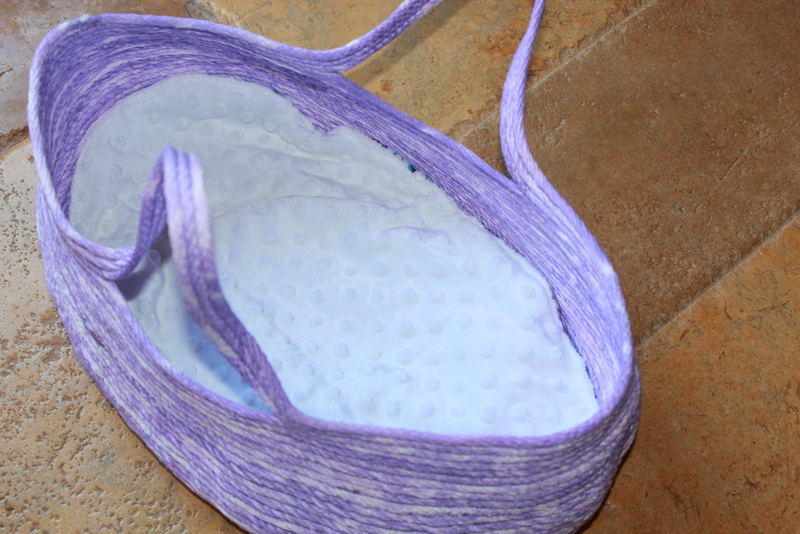
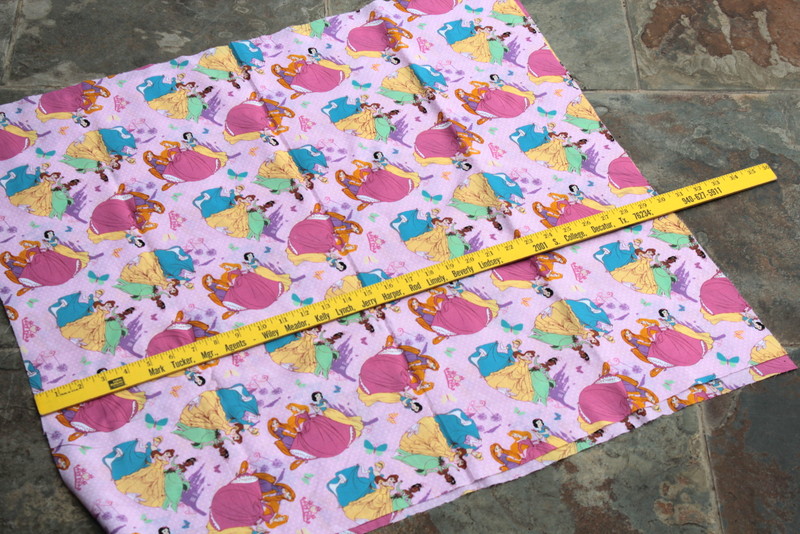
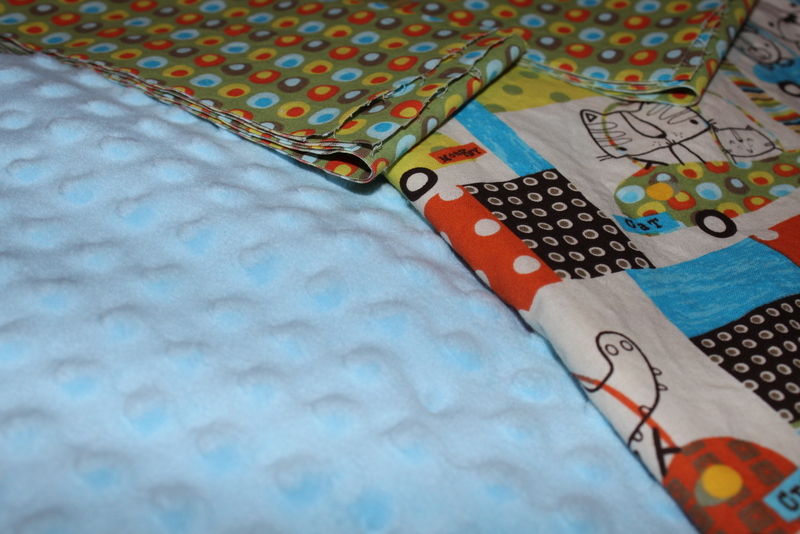
I use cotton fabric on one side of both the blanket and pad and on the other side I use a super soft minky fabric.

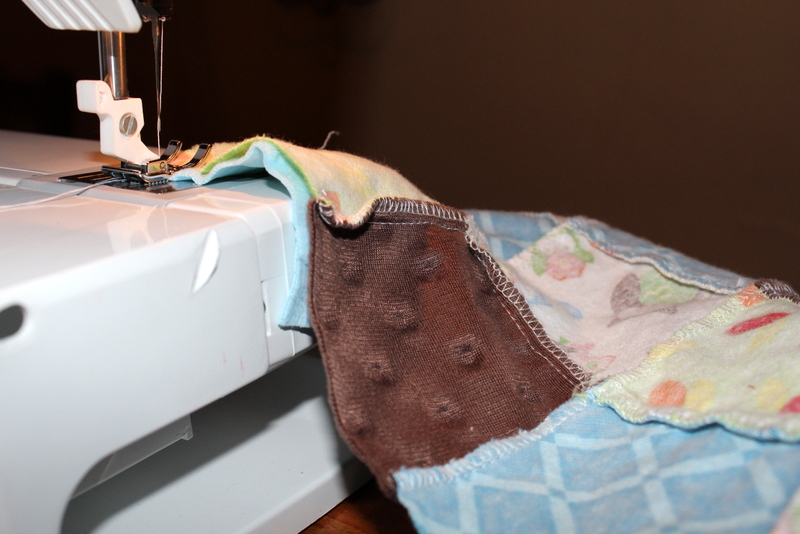
For the bottom pad: Place your basket on a long sheet of paper and trace around the bottom, marking your basket. Cut it out, adding 1/2 inch for seam allowance. Lay it on top of your desired fabric, right sides together, place 1-2 layers of batting on the bottom. Sew the layers together leaving a 4-5 inch space to turn it right side out. Trim the seam then turn it right side out. Iron your seams flat and sew along the outside edge of the pad.

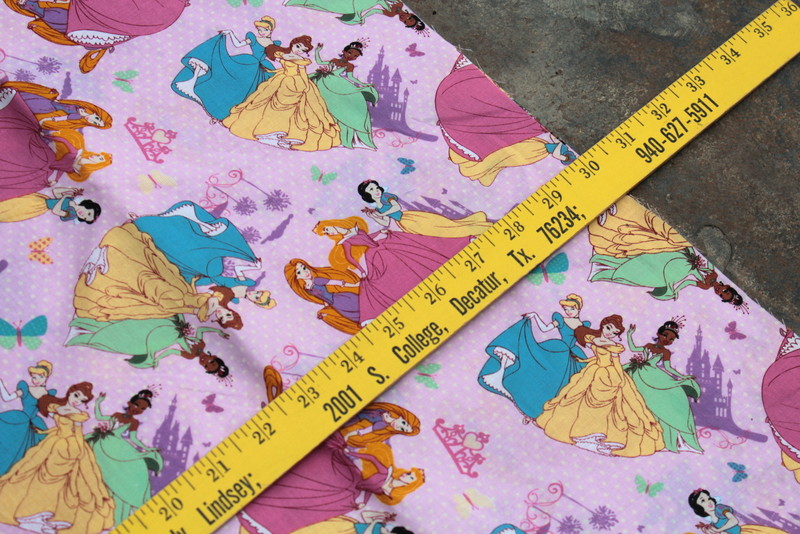
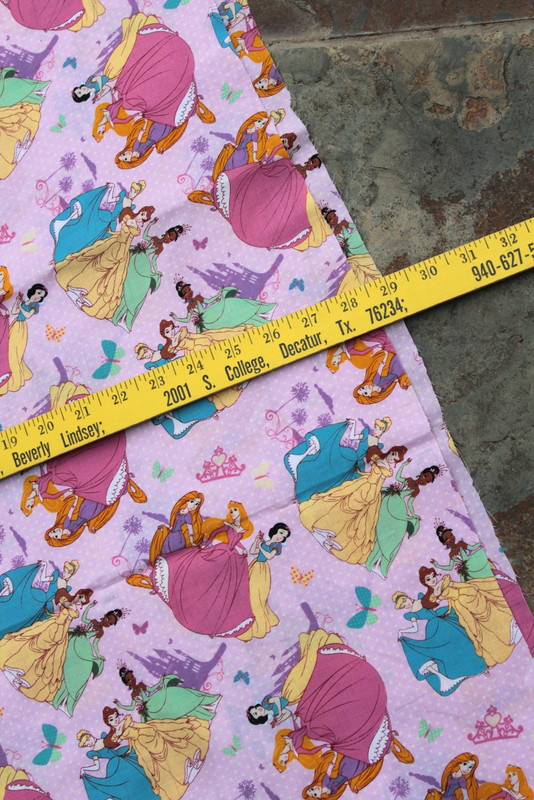
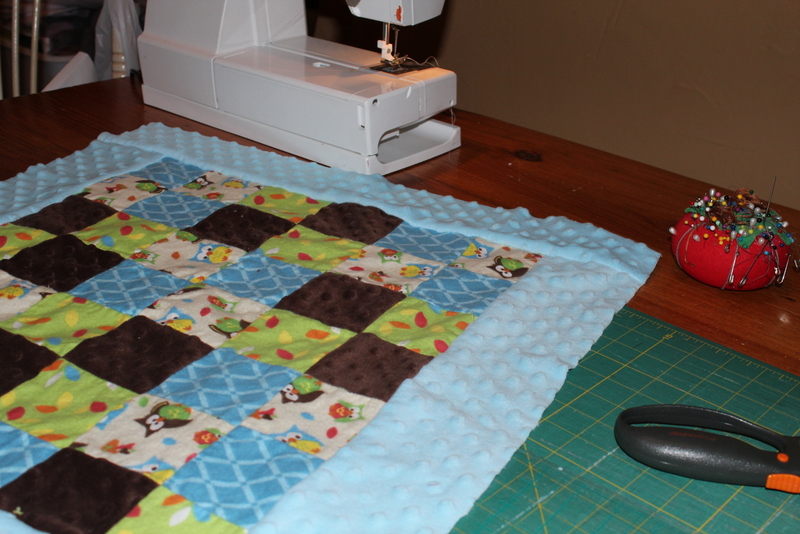
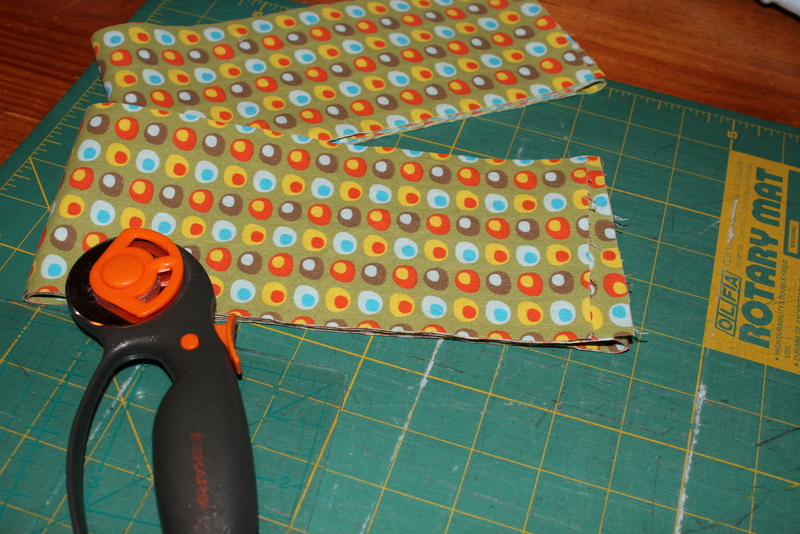
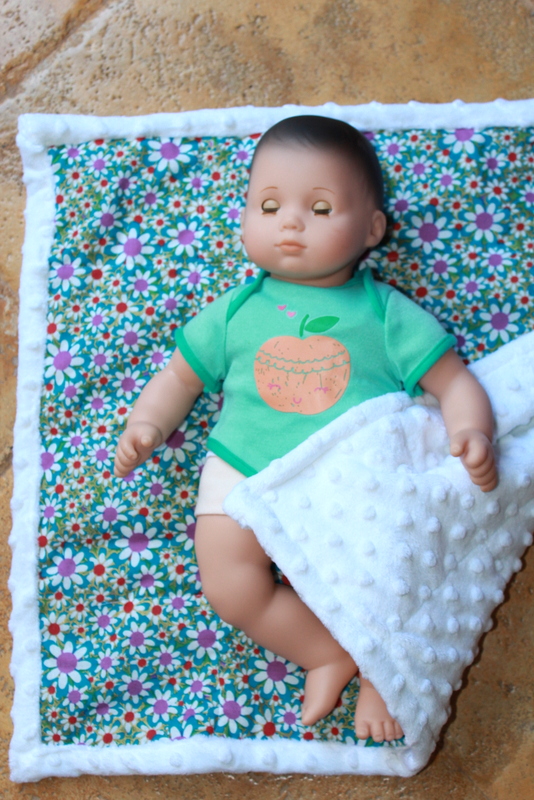
For the blanket: Cut your cotton fabric and one layer of batting 18×18 inches. Cut your minky 20×20 inches. Place your minky face down, place your batting and your cotton-face up- on top of your minky, leaving 1 inch evenly around the outside edge. Double fold the minky over the cotton and pin in place, making your blanket edge. Sew the minky along all four sides.

You can quilt it either by hand of on your machine if you would like.

IMG_1912IMG_1913IMG_1908

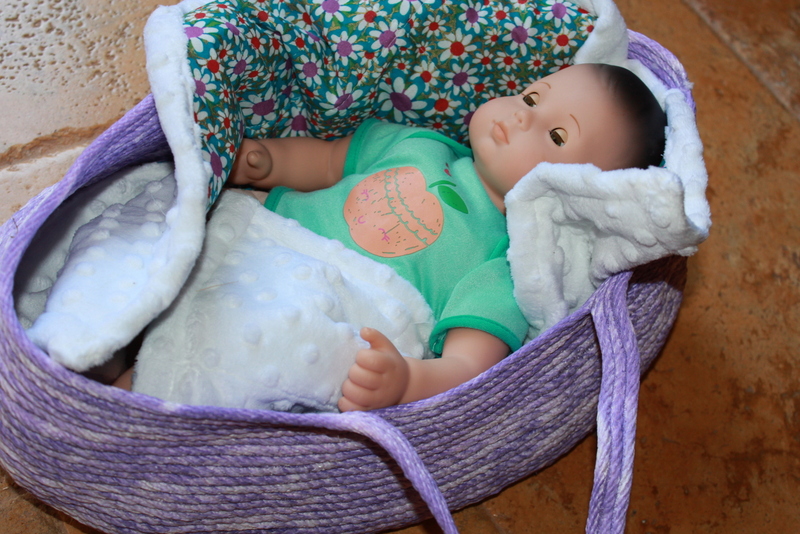
You are now completely finished with your Moses basket.

IMG_1903IMG_1904IMG_1911IMG_1819IMG_1821

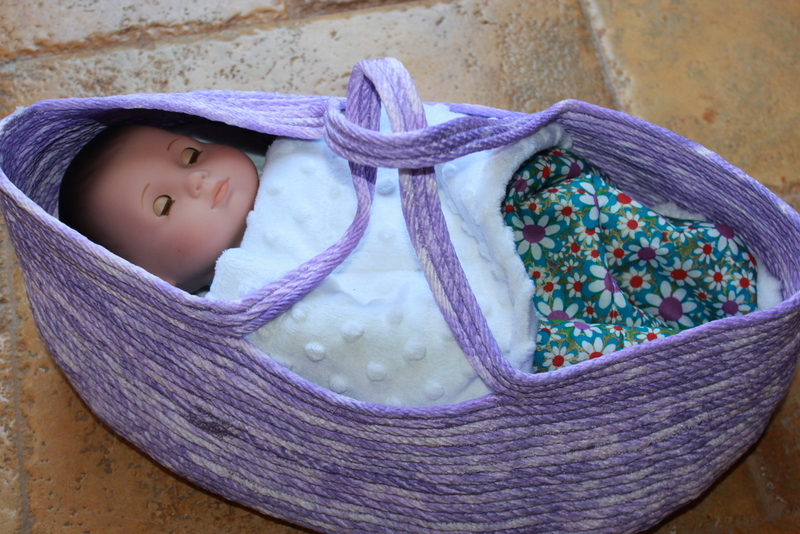
This Moses basket will be featured in my next Missions basket.

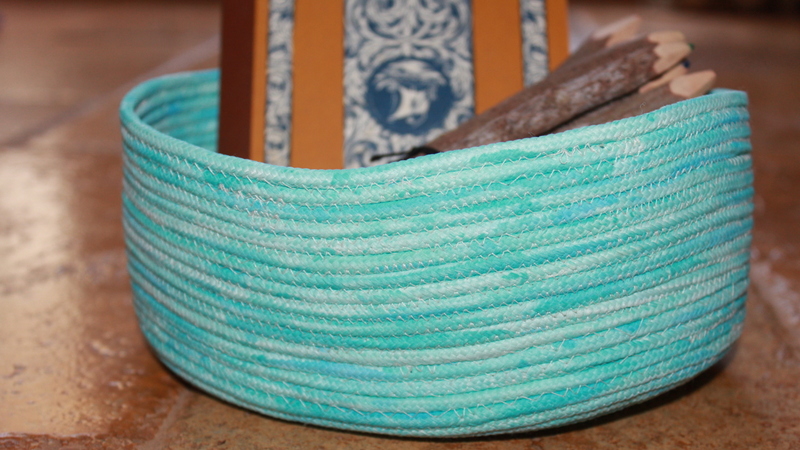
I have also made a few baskets using this technique, here are a few pictures.

IMG_1915IMG_1917IMG_1919IMG_1920IMG_8607IMG_8647

Now a man from the house of Levi went and married a daughter of Levi. The woman conceived and bore a son; and when she saw ]that he was beautiful, she hid him for three months. But when she could hide him no longer, she got him a wicker basket and covered it over with tar and pitch. Then she put the child into it and set it among the reeds by the bank of the Nile. His sister stood at a distance to find out what would happen to him.         Exodus 2:1-4

Read Full Post »

Having a life long love affair with fabric, it makes me very happy when children get excited over fabric.

Aria saw several Disney princess fabrics at Hobby Lobby and just had to have one. She has also gone through a huge growing spurt and all of her pj’s were beginning to get too small. So I let her pick out her favorite fabric-there were several, and it was a very hard decision for her-and I set out to make her a new nightgown.

I purchased a package of T-Shirts from Walmart. I love these little T-Shirts, they come in a package of three and the are cheap enough and you can do so many different things with them.

Cut the T-Shirt to your desired length, depending on where you want your waistline.

Image


Decide how long you want the skirt of the nightgown to be, then measure and cut your fabric, remember to include the seam allowance and the hem.

Image

I cut this one 30 inches wide and 29 inches long, which includes a 1 inch hem.

ImageImage


Sew right sides together.

Image

Finish your edges, I use a serger.

Image

Turn it right side out and iron your seams. I cannot express to you enough how important ironing is. I iron every seam before going on to the next. It makes your finished product look more professional and finished.

ImageImage

Gather the top edge, making sure your stitch is on the longest setting. I use a double gathered stitch for a neater, more uniform look.

Image

Pin the skirt to the bottom of the T-shirt and sew. Image


Finish your edge, then turn right side out. Iron the seam and remove the gather threads.

Image

Hem the bottom edge and press.

ImageImageImageImageImage

This is very easy and a great project for a beginner.Image

“No one sews a piece of unshrunk cloth on an old garment, or else the new piece pulls away from the old, and the tear is made worse.”  Mark 2:21


Read Full Post »

The finished dress.Image

I don’t know about you but I have the hardest time finding knit fabric I like. Even the fabric weight matters to me, so when I don’t find what I am looking for I start looking in the T-shirt section.  Image

Although I used a pattern I changed it to make the dress the way I wanted it.  

This is the pattern I used.  Image


This pattern has sleeves and I didn’t want sleeves since it is a summer dress (in Texas).

Image

I wanted the shoulders to be cut in a little more, so I cut off some of the fabric at the shoulders to get the desired look.   

I also took bigger seams in at the sides to give it a more fitted look.

Image


I sewed a vintage lace overlay over the front of the dress. 


Image


The dress is mainly white and off-white, so I wanted to add just a little color.   Image

I used a blue knit fabric cut on the bias to bind the neck and shoulder edges.   ImageImage


The back has a key hole opening and an old button that closes it.   Image


The finished top part of the dress.  Image

I started at the bottom of the dress and sewed a white vintage tulle ruffle, then added a layer of vintage off-white lace.   Image

I added another layer of the tulle and at the top I added a final layer of the lace. The top piece of lace is only in the front, covering the lace overlay.   Image

I added vintage lace going down the front of the dress but I only sewed it down on the bodice.Image

I sewed off-white pearl beads down the front of the bodice.  

ImageImage


I had a long necklace of tiny off-white beads that topped off the dress.   Image


Image


I love anything that is old or vintage and this lace was an amazing find!


ImageImageImage


I especially want to thank my amazing model Nikyla!


Image

His name shall endure forever; His name shall continue as long as the sun. And men shall be blessed in Him; all nations shall call Him blessed. Psalm 72:17

Read Full Post »

Pajama Top Tutorial

Of course Aria needed a top to go with her new pj bottoms. 

This time I went to my own closet and found a soft comfy T-shirt that was. . . well . . . let’s just say a little too tight on me.  But it was perfect for this.Image

I cut off the arms, the collar and cut down the neck.  I wanted it to be loose around the neck since she was going to be sleeping it.Image

Once again, I left the bottom edge of the T-shirt for the hem.

I sewed the shoulder seams and cut the arms down to fit this new size. I wanted the sleeves to be a 3/4 length.

Image

From the top part that I cut off, I made the collar. I cut it about 3 inches wide also cutting it the width of the neck edge and folded it in half, pressing it in place. Using my serger I sewed it onto the top.

.Image


Done!  And it was free!!!


 ImageImageImageImageImageImage


Therefore, as the elect of God, holy and beloved, put on tender mercies, kindness, humility, meekness, longsuffering;   Colossians 3:12

Read Full Post »

I wanted to make Aria some pajama bottoms and the most logical place for me to look was in Kory’s closet.  He had taken all the clothes he wanted and told me not to send anymore to his tiny little apartment, having very limited storage.

I found a couple of T-shirts that I thought would work.  

You can find a more detailed tutorial here:

http://www.madebylex.com

Image

Here is what you will need.  A T-shirt, fabric for the waistband (I used knit fabric on one pair and minky on the the pair I am showing), elastic for the waistband, cut the correct length to fit your child and pants that fit for a guide.

You could make these pants for a boy or a girl.

Image

I folded the T-shirt on it’s side so that the print would run across the side. One T-shirt had a pocket, by folding it the pocket ended up on the back.Image

Cut the pants pattern out, you can make them be as loose fitting or as tight as you want, I wanted them to be lounge pants so I cut them bigger. If your child is a little older you could add to the bottom or you could make them capris. 

The bottom of the legs are the edge of the T-shirt, so you will not have to hem at all.

Image

Cut the waistband the width of the pants and fold it in half, making sure that it is wide enough for your elastic to fit, plus the seam.Image


Sew the crotch seams first, then sew up the inside seams.Image

Turn them right side out and press with an iron.Image

Sew the waistband on leaving an opening to insert the elastic.Image

Run the elastic through and close up the seam. Image

Done. Super easy and very little cost.Image

Aria’s favorite was the jungle print with the pocket on back.Image

They were very comfortable for her and she did not want to take them off.

Tomorrow I will show you the tutorial for her top.

ImageImageImageImageImageImage


But above all these things put on love, which is the bond of perfection.  Colossians 3:14

Read Full Post »

Baby Quilt Tutorial


Image

This is the baby quilt I made for our new little Landon.

So a trip to JoAnn’s found me loaded down with 1/2 yard pre-pieced quilt squares (I actually cut this in half), 1/2 yard of baby blue minky fabric, 1 yard for border and and hemming and 21/2 yards for the outside border and back. You will also need quilt batting, I used low loft.

Minky is wonderful and super soft, but it is hard to work with, it moves when you sew it, so make sure that you pin, pin, pin.Image

I cut a 4 inch border out of the minky and sewed it to the already pieced center.Image


Then ironed it in place.  Ironing is a must, the seams will not lay flat or look good if you do not iron.  Be careful when you iron the minky that your iron is not too hot, it will melt.ImageImage

I cut another 4 inch border out of the circle fabric and sewed it to the minky border.Image

I usually let the border hang over then go back with my square and cut it off.Image

Since the last border had a pattern and because of the size I wanted the quilt, I cut the side border so that I would have one row of the animals going down the sides, making sure that the pattern of the fabric is running the right way. I sewed the sides on first.

I cut the border for the top and bottom wider, running the pattern of the fabric the same way as the sides, then sewed it onto the quilt.

Image 

This is the top of the quilt.ImageImage


I laid the quilt on top of the batting and cut it the same size.  With wrong sides together I laid the quilt back and top together, making sure the back had overhang all around for hemming.

Then I pinned it into place so it would not move while I quilted it on my sewing machine.ImageImage

Starting in the center, and smoothing it out as I sewed, I quilted it using a long stitch.Image

Working from the center out and sewing all around the quilt until it was all quilted.Image

I then turned the overhang over and pinned in place for the hem.Image

And sewed it down.ImageImage

This is the finished project.

Image


l confess, I got a lot of puckering on the back and had to rip out the quilt seams, like four times, but finally did it one seam at a time, then ironed it before I went on to the next.

I washed it in Dreft laundry soap for babies and it came out smelling nice. 


“Though you lie down among the sheepfolds, You will be like the wings of a dove covered with silver, and her feathers with yellow gold.”  Psalm 68:13


Read Full Post »

Blue Lace Dress

Today I am posting the tutorial for Aria’s dress. It is made from one of the T-shirts that I dyed yesterday, plus the rest of the T-shirt that I used for the infant gown. I also used pieces from a vintage dress.

Here is Aria’s dress.

Image


After making the infant gown, the top part of the T-shirt was left, so I used it to make the bodice and sleeves for Aria’s dress.

I used  one of the tops that I knew fit her to cut the pattern for both the bodice and the sleeves.

Image


Then I sewed the sleeves onto the bodice.Image

I then pinned right sides together and sewed the side seams together.  I turned right side out and ironed the seams flat.Image

I cut a skirt out of the unused T-shirt, measuring the desired length that I wanted and sewed it onto the top.

ImageI

I cut the cuffs off the sleeve of the vintage dress and sewed it onto the dress sleeves, making sure that the buttons were on the outside of the sleeve.ImageImage

I wanted the overskirt to hang lower than the underskirt so I measured the desired length and cut it.

Image


I then pinned it onto the dress and sewed it in place.ImageImage

I cut a piece of the T-shirt fabric on the bias, about 4 1/2 inches wide for the neck binding.Image

I folded it wrong sides together and ironed in place, then I sewed it onto the neck edge of the dress, making a couple of pleats in the very center of the bodice.Image

I sewed lace around the top and embellished the neck edge with fabric and tulle flowers.ImageImage

Here is a close up of the sleeves.Image

I cut the lace collar off the vintage dress and used it for a headband, embellishing it with trim and  fabric flowers and sewing everything onto a purchased stretch headband.Image

Image


Done!


Image


If you have any questions please ask!!

She makes tapestry for herself; Her clothing is fine linen and purple.  Proverbs 31:22

Read Full Post »

Blue Lace Baby Gown

A while back a dear friend asked me if I would make something for her new granddaughter. She loved the color purple so I made three outfits for her to choose from.  The one she chose was my all time favorite.  I hand dyed a onesie and tee-shirt and used yards of cream color vintage lace and made a infant gown.Image

With my new granddaughter here I wanted to make her and Aria matching dresses and I knew I wanted to do the gown for Aniyah.  Image

So here is my first tutorial. I will post a tutorial for Aria’s dress tomorrow, then pictures of them in their dresses later.Image

I hand dyed two (one for Aniyah and one for Aria) men’s size M white T-shirts and one newborn long sleeve onesie the yummiest color blue, then I washed and dried them.

.Image


I cut the lace out of an old vintage dress and gathered together all my lace.ImageImage


I measured the length of an infant gown from the neck to the bottom and added a couple of inches.

I folded the t-shirt in half for a double thickness, using the already hemmed bottom for the bottom of the gown, then I cut it in the shape of a trapezoid.Image

I decided where I wanted the top of the skirt to come on the onesie and folded it, making sure it was even on both sides and ironed a crease.  This is my sewing line.

Image


I laid out the lace on the bottom of the gown for placement and to make sure I had enough.  I used two different size laces and alternated them.


Image


I measured two pieces of 1/2 inch elastic about 3/4 the length of the bottom and pulled it through using a safety pin.


Image


Then I sewed the sides together.


Image


I turned it right side out and ironed the seams flat. Then I began to sew the lace on starting with the bottom. I used the hem of the skirt as my guide.


ImageImage


When all my lace was sewn in place, I attached it to the onesie, using the ironed crease as a guide. 


ImageImage


I then embellished the front of the gown with extra lace and fabric roses, made out of the same   t-shirt.


Image


I cut the neck off the t-shirt and used that for a headband and embellished it with trim, lace and the same fabric roses.


Image


DONE!  As I said, this is my first written tutorial so if you have any questions feel free to ask. I am sure I have left out something or totally confused you.

Thank you so much for looking.


Image

She makes linen garments and sells them, And supplies sashes for the merchants.        Proverbs 31:24


Read Full Post »

KDD & Co

Award-winning Scottish publishing and design

Dye2Spin: Your Stash Supplier

Creating Fabulous Yarn for Your Crafting Happiness

Free to Surrender

Learning to look up and let go

Christian War Journal

Fight the Good Fight, Wage the Good Warfare

wisdom of the wolf

dressing well starts inside

Prząśniczka

blog o przędzeniu i tkaniu

focusingmygaze

This is simply a place for me to record and share with others some of the things God is teaching me and doing in my life and the lives of those around me. I pray it glorifies God and encourages others.

Buzy Day

The adventure of NikkiM

leahemilynelson

Just another WordPress.com site

The Horner Corner

A peek into the life of Will and Maisie!

%d bloggers like this: